
Getting started
How to get an account, sign in, and orient yourself in the application on day one.
Before you start
Have these ready and the whole setup takes about twenty minutes:
- A work email address — this becomes your sign-in identity.
- Sample call recordings, or access credentials for wherever your recordings already live.
- Your agent roster, so calls can be attributed to the right people.
- Your QA targets — average call duration, calls per day, talk ratio — if you already track them.
Ways to get an account
| Route | Who it’s for | What happens |
|---|---|---|
| Book a demo | Most contact centres | Our team walks the platform with your own calls and provisions the account. Start at Book a Demo. |
| Pilot | Teams evaluating before an annual commitment | Send a batch of last week’s calls; you get a full QA report back within a few business days. |
| Self sign-up | Where it’s enabled on your deployment | The sign-in screen shows a Sign Up option and you create the account yourself. |
| Invitation | Colleagues joining an existing account | An admin invites you by email; you set your own password on the link. |
Self sign-up is not present on every deployment. On-premise and proxied installations hide it, because accounts there are provisioned by the account owner. If you don't see a Sign Up link on the sign-in screen, ask your admin for an invite.
Signing up
Sign-up is a short wizard — Account type, Your details, Address — with a progress rail across the top so you can see where you are.
-
Account type
Choose Organisation (a contact centre or business — this is what almost
everyone wants) or Individual, then set your email and
region. Organisation accounts can hold multiple workspaces, invite users
and manage agents; the region decides where your account is served from.
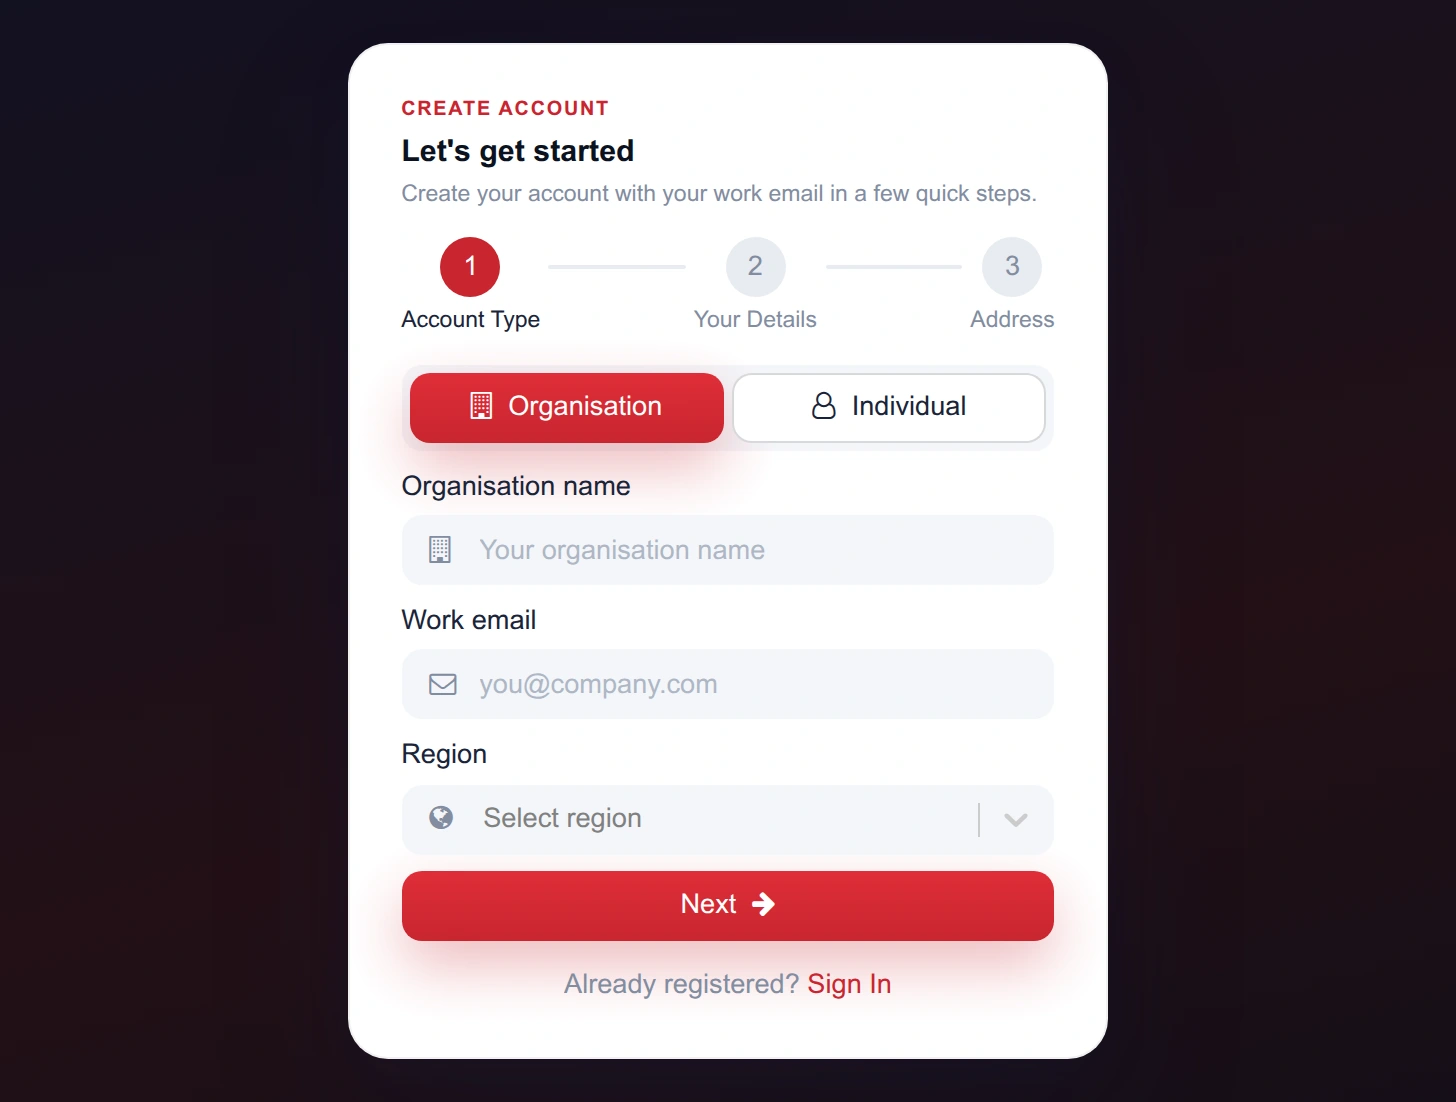
An organisation account asks for the organisation name alongside the email and region. 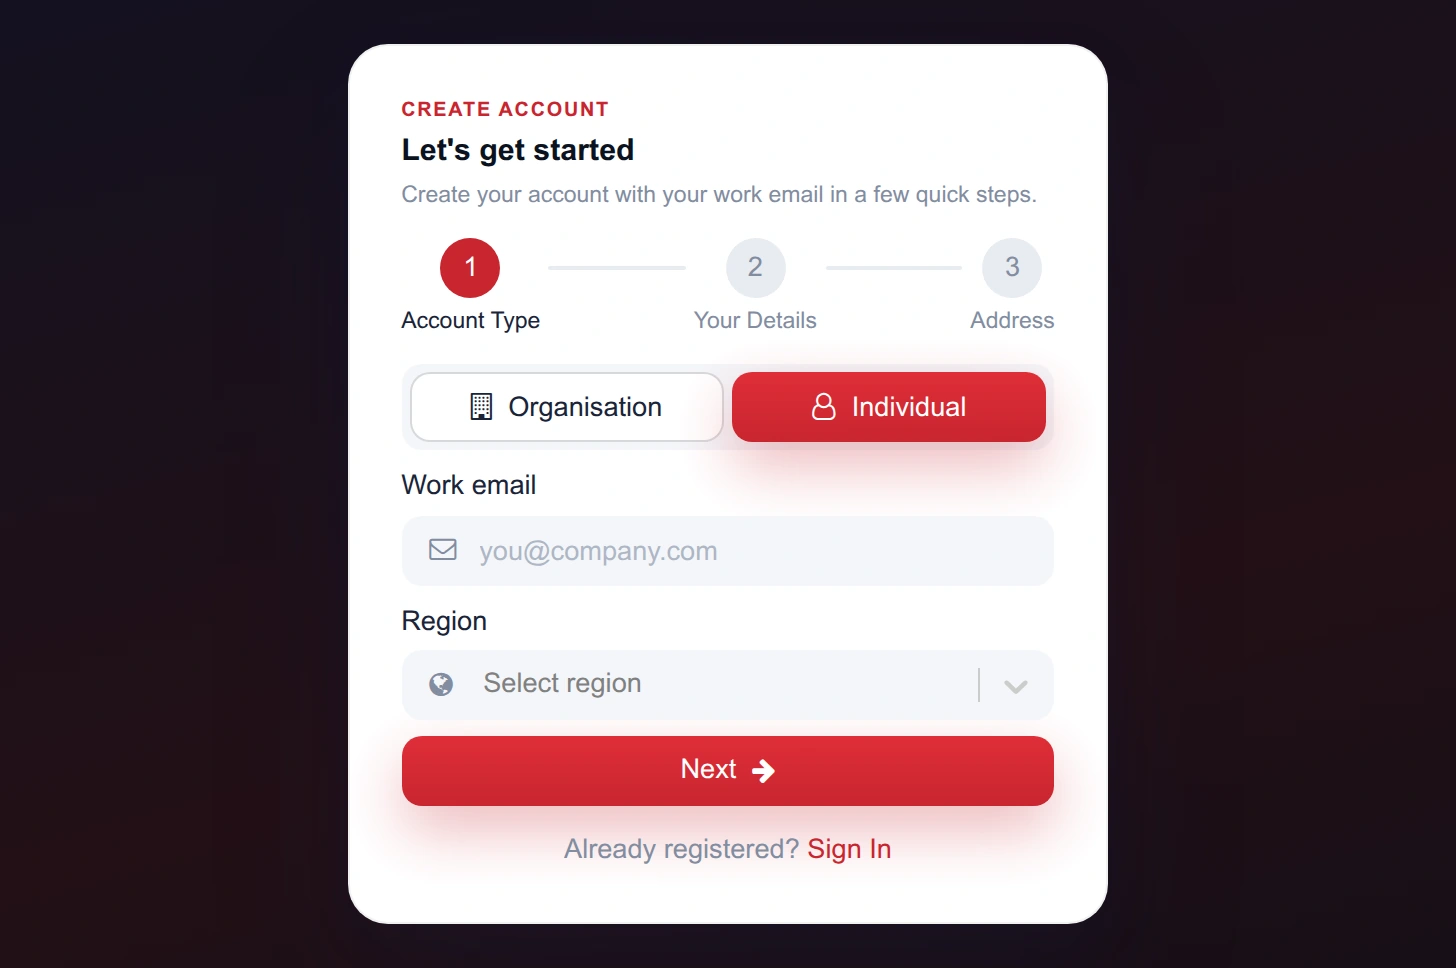
Switching to Individual drops the organisation name — email and region are all that's left. -
Your details
First name, last name and a password. The requirements list beside the field turns green
item by item as you type, and the same rules apply later on invite acceptance and password
reset.
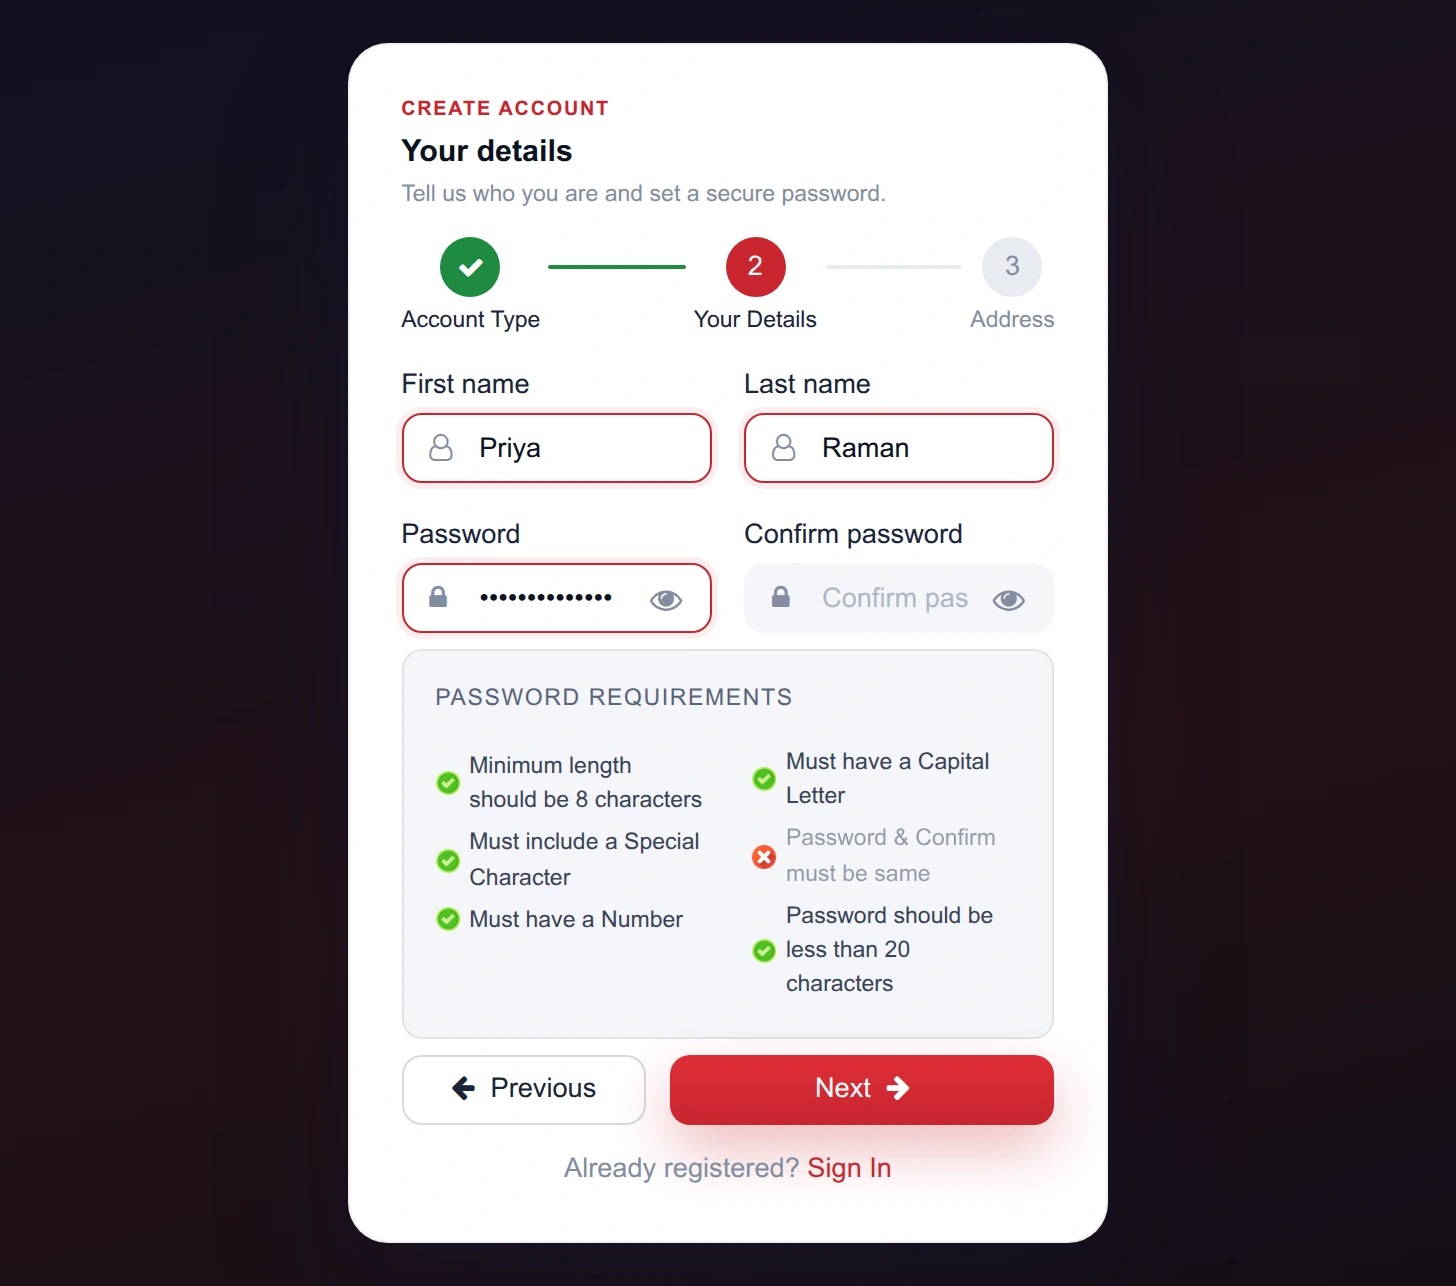
Every requirement has to go green before the step will advance — here the password still has to be confirmed. -
Address
Country, state, postal code and contact number. Country and state drive locale details on
invoices, so use the billing entity's address rather than the floor's.
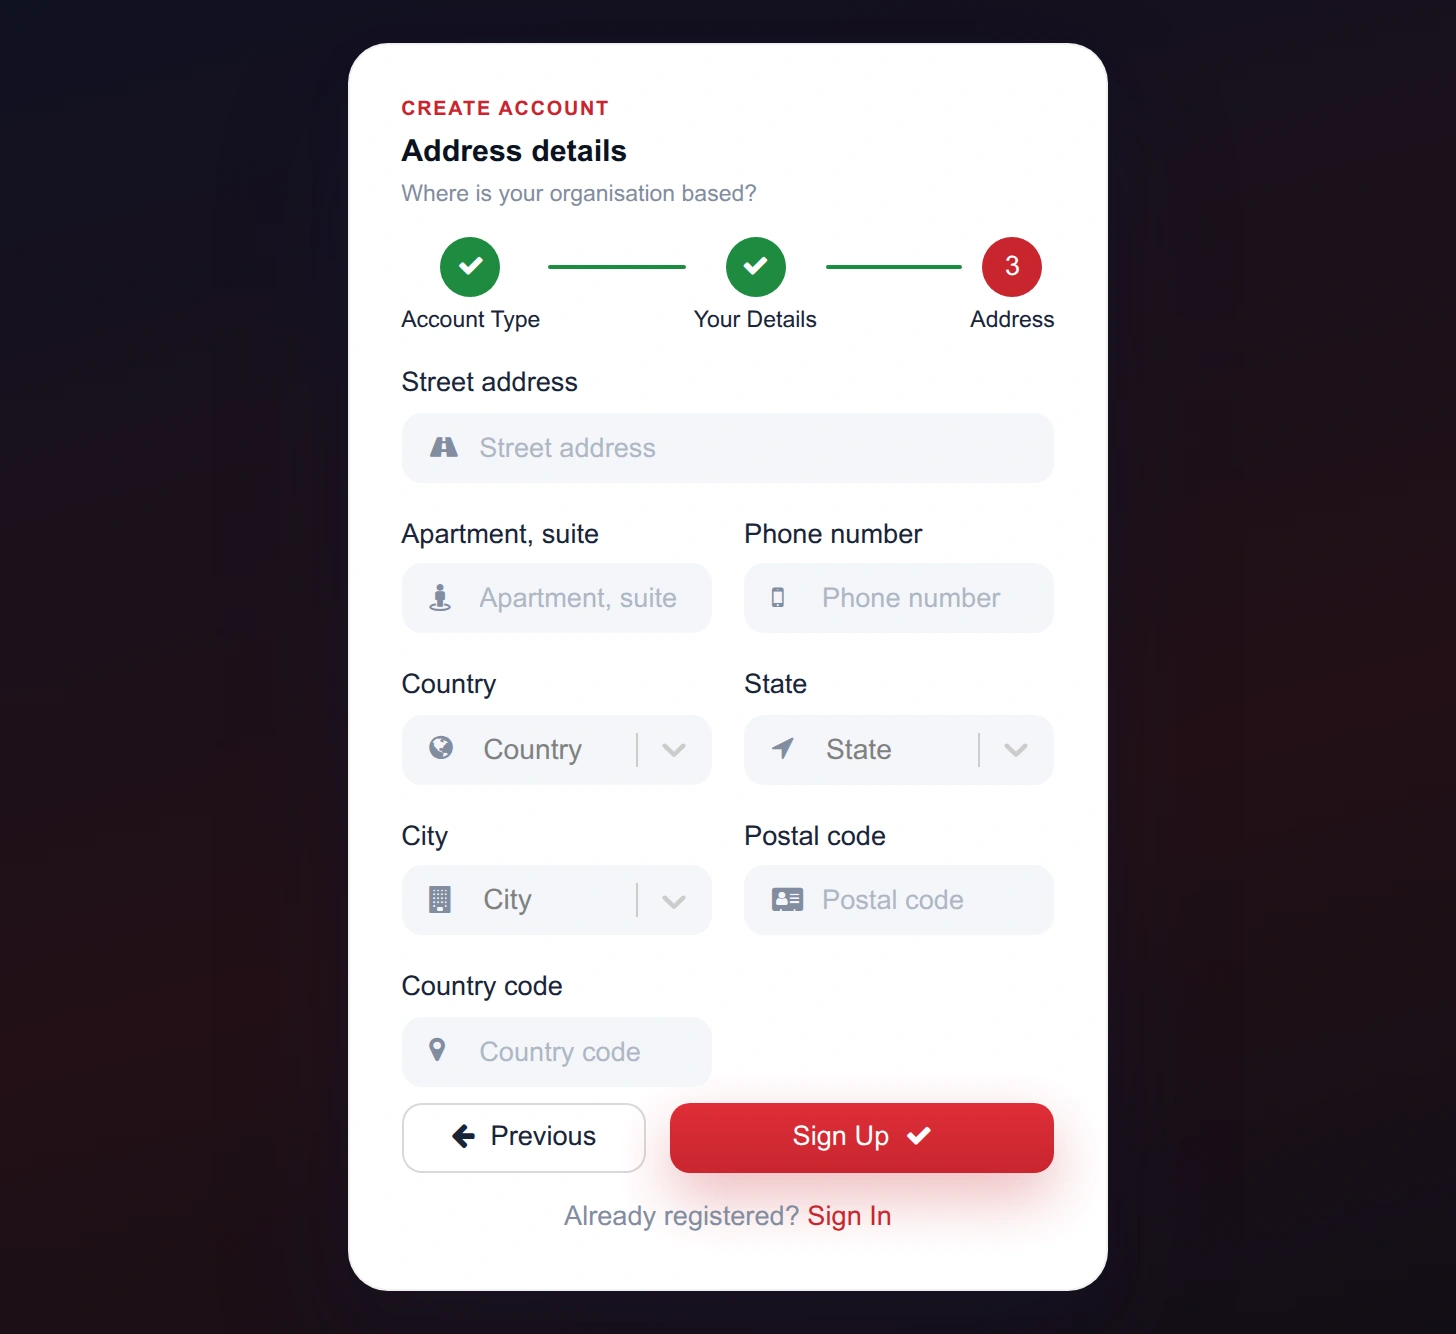
The last step of the wizard. Sign Up submits it and creates the account. -
Verify your email
We send a verification link. Opening it activates the account and drops you at sign-in. If
the link has expired you'll land on an invalid link page — request a fresh one from
the sign-in screen or your admin.
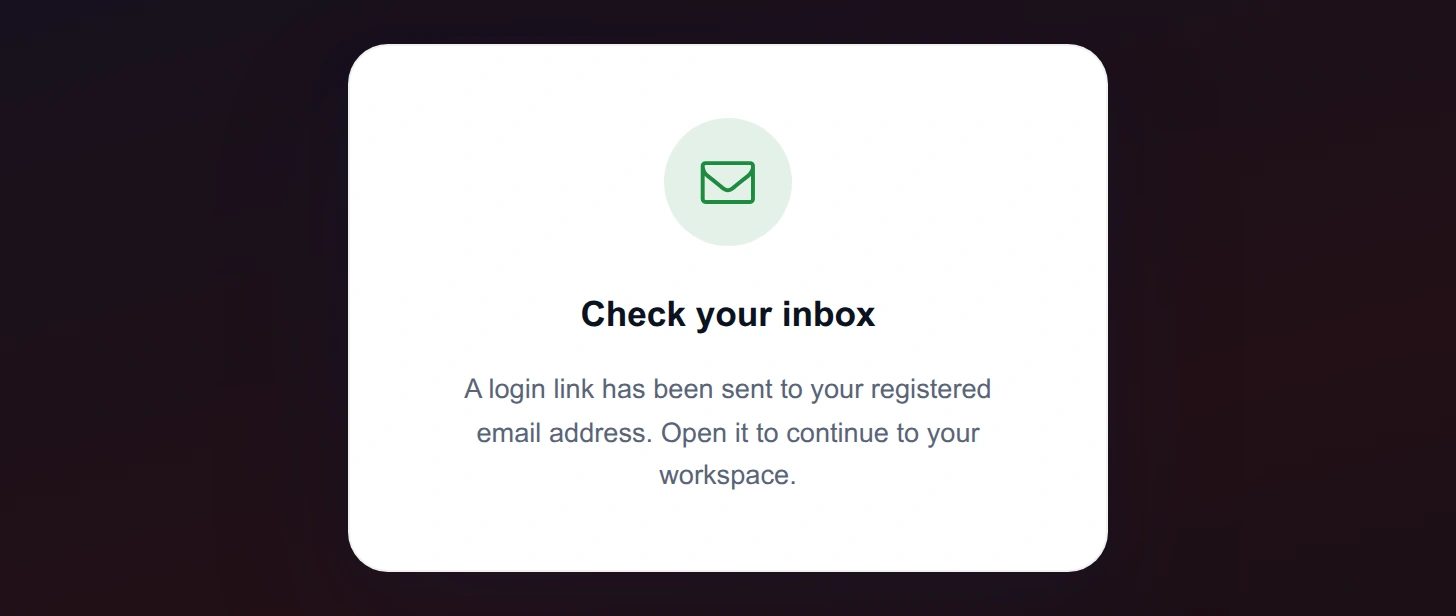
Nothing is usable until the emailed link is opened.
On-premise and proxied deployments add a fourth step, Email Config, for the mailbox the platform sends from. It is tied to the deployment, not to the account type — on the hosted service you will not see it.
Accepting an invite
If an admin invited you, the email contains a one-time registration link. Open it, set your name and password, and you’re in — with access to exactly the workspaces the admin selected for you. There is no account type, region or address to fill in; the admin already settled all of that.
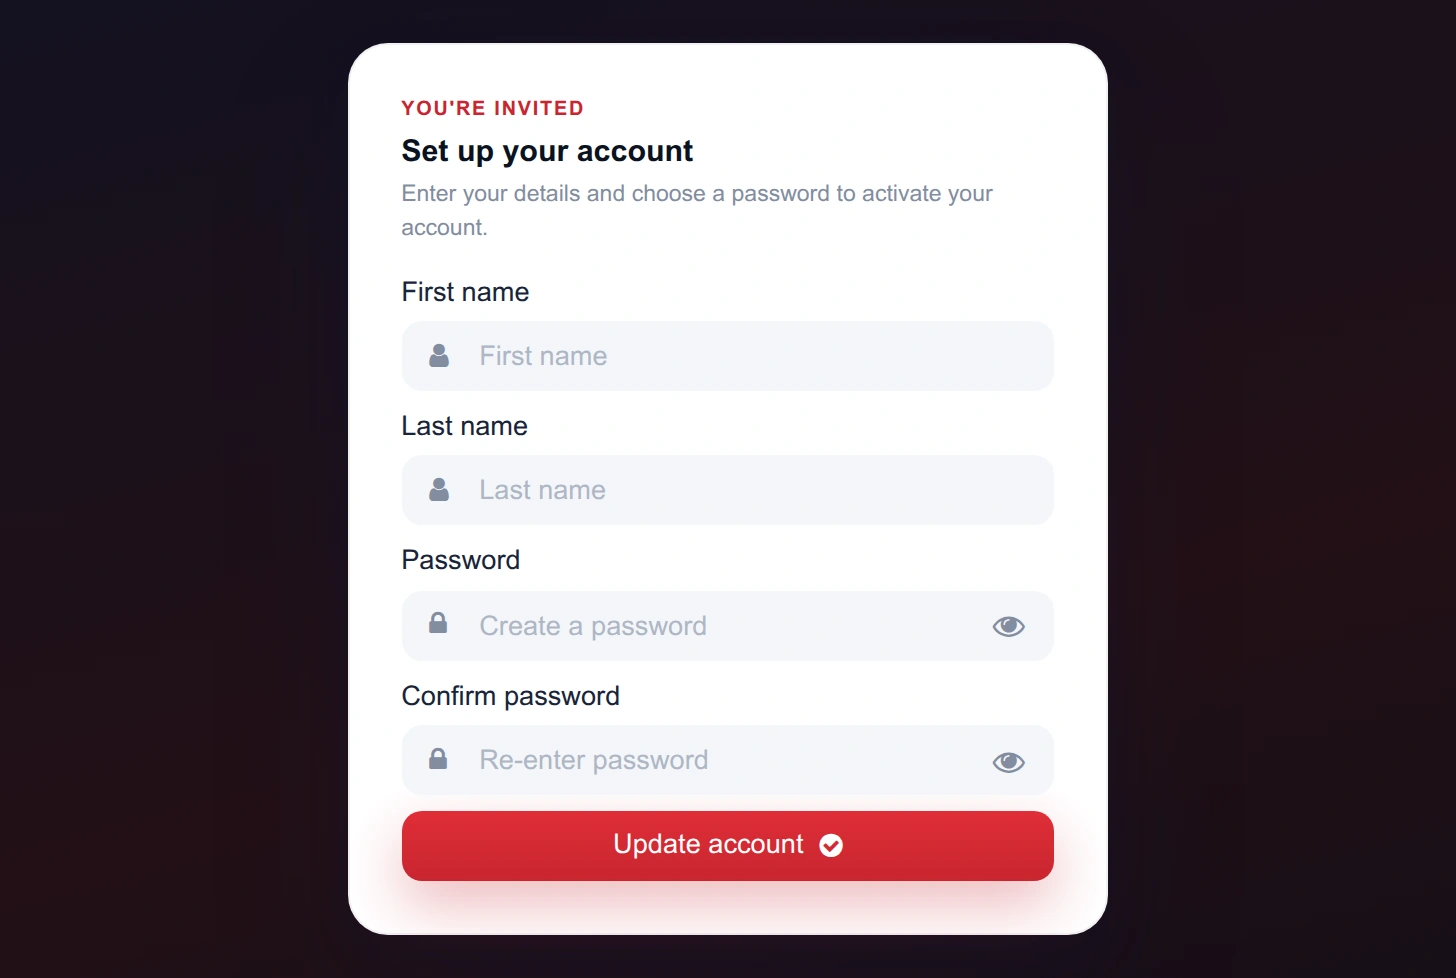
Invite links can be re-sent or revoked by an admin from Sidebar › Manage › All Users, so ask there if the mail never arrived or the link has lapsed.
Signing in
- Sign in with your email and password. Credentials are encrypted in the browser before they’re sent.
- Remember me keeps the session alive between visits on that browser.
- Forgot password? sends a reset link to your email. The reset screen enforces the same password rules as sign-up.
- Sign out from the Logout button at the bottom of the sidebar.
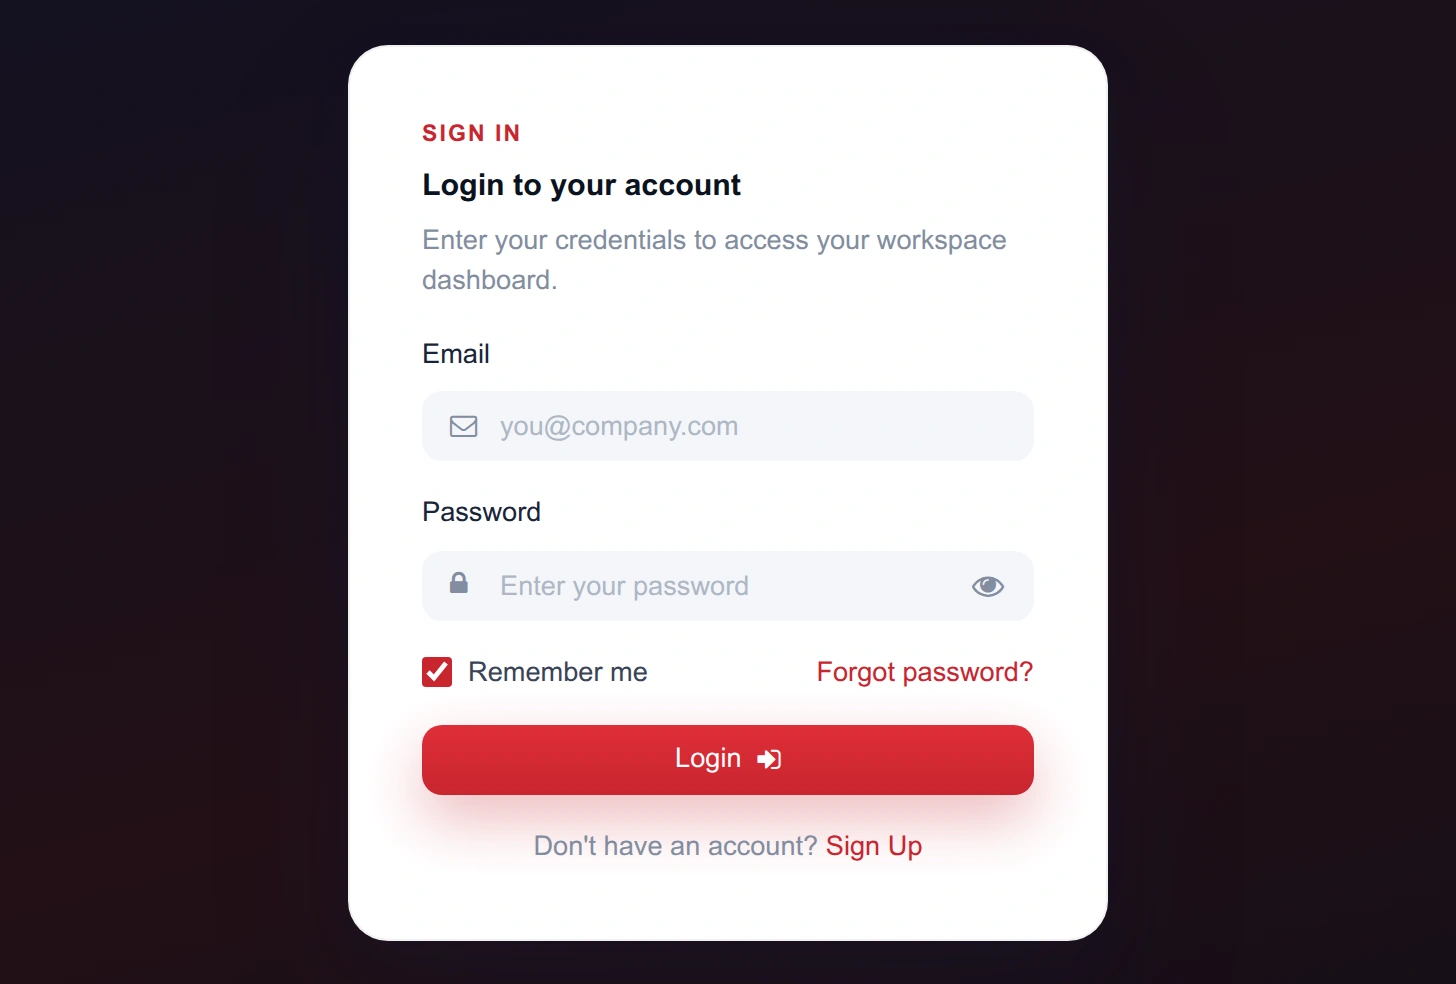
Resetting a forgotten password
- Start from the sign-in screen Forgot password? sits on the row under the password field, opposite Remember me — it's on the screenshot above.
-
Enter your registered email
Use the address the account was created with — a different one gets no mail and no error.
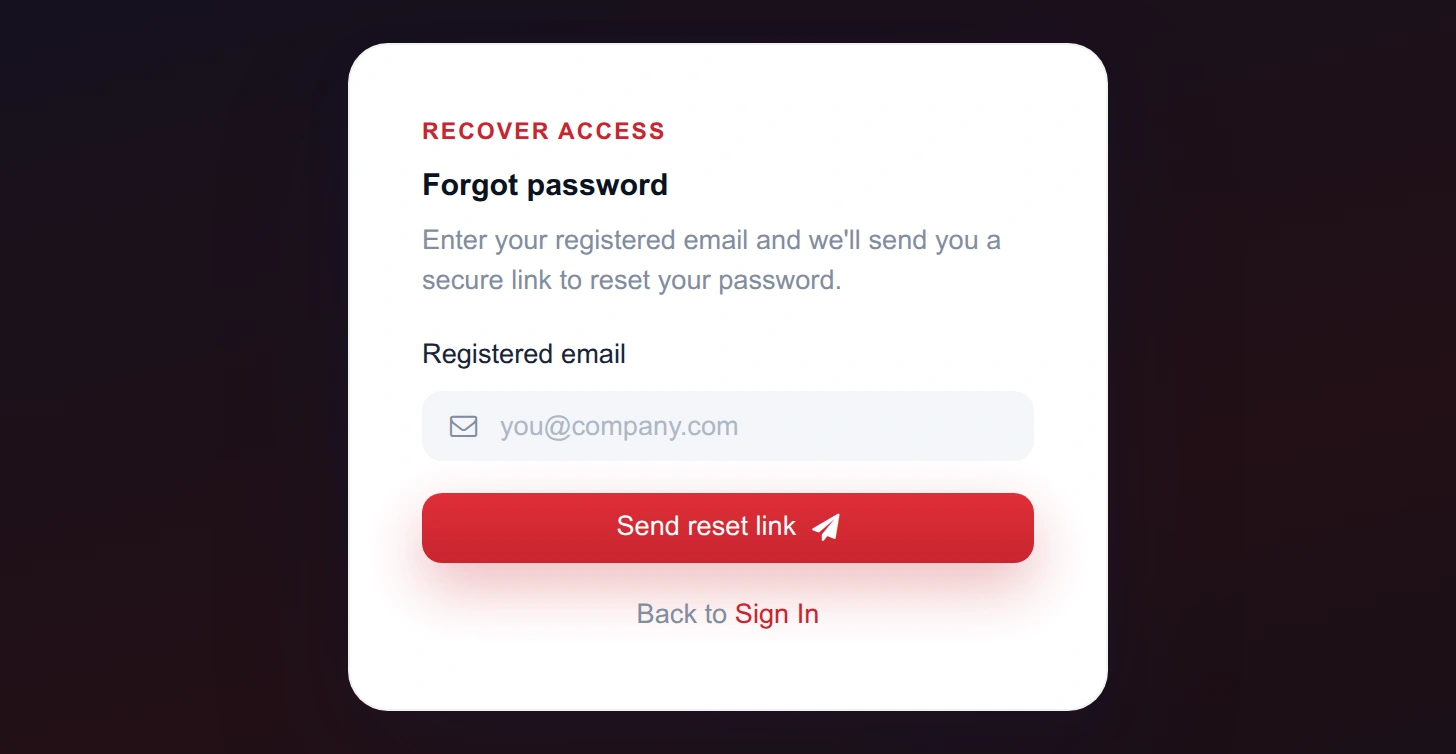
Requesting the reset link. -
Open the emailed link
Links are single-use and expire. An expired or already-used one lands here, and the way back
is to request another from sign-in.
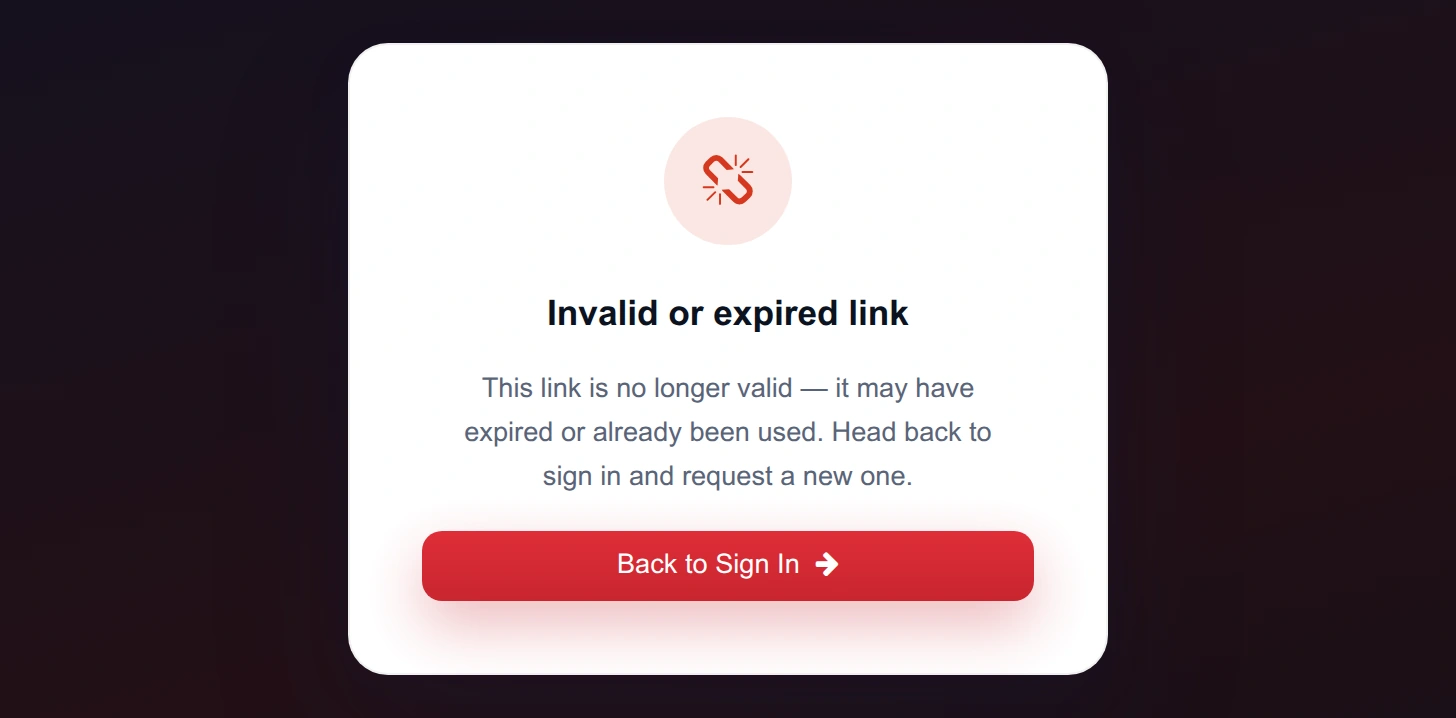
The dead end you hit on a stale link — the same screen an expired invite lands on. -
Set the new password
New password and confirmation, against the same strength rules as sign-up. You're returned to
sign-in to use it.
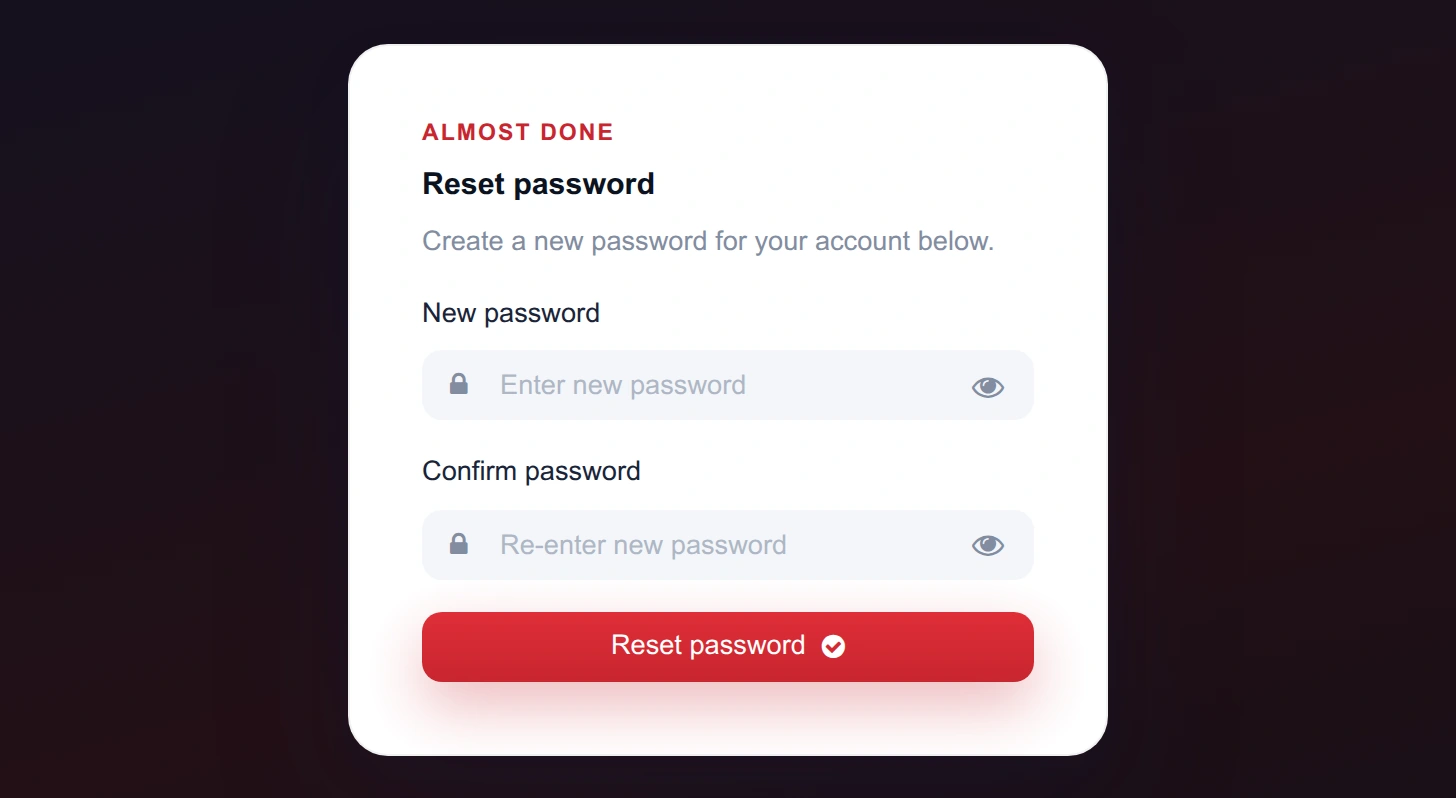
The reset screen. Both fields must match before the button enables.
The application checks for planned maintenance and replaces the UI with a maintenance page while it's in effect. Nothing is lost — processing continues in the background. Reload once the window has passed.
Your first ten minutes
- Check the workspace you're in The switcher sits in the top bar. Every call, chart and KPI on screen belongs to the workspace named there. New accounts start with one workspace.
- Get calls in Either drop a handful of recordings on Upload Call for an immediate result, or connect your storage so they arrive on a schedule. See Connect your call data.
- Open your first processed call When a call finishes processing it appears in Recent Calls on the dashboard. Click it — that's the call analysis screen, where the transcript, sentiment, emotions, summary and call score live.
- Set your workspace goals Targets for duration, calls per day, talk ratio and emotion mix are what turn raw numbers into pass/fail signals on the dashboard. See Goals & targets.
- Add your agents, then your team Load the agent roster under All Agents so calls attribute correctly, then invite supervisors under All Users.
Finding your way around
- Left sidebar Navigation, grouped into Overview, Manage and Account. Items you don't have permission for are not rendered at all, so your sidebar may be shorter than a colleague's. Collapse it with the ≡ button in the top bar.
- Workspace switcher Top right. Scopes the dashboard, analytics, performance and call screens. It's hidden on screens that aren't workspace-specific — Usage, Integrations, All Users, All Agents and Account.
- Upload Audio Top-bar shortcut to the upload screen, shown to anyone with upload permission.
- Notification bell Lights up when a colleague tags you in a call comment. Clicking the notification opens that exact call.
- Floating upload tray Uploads keep running while you navigate; the tray in the corner reports progress and completion.